Using the Storybook Editor
This page will walk you through writing content and using the Storybook editor while running a game.
Getting Started
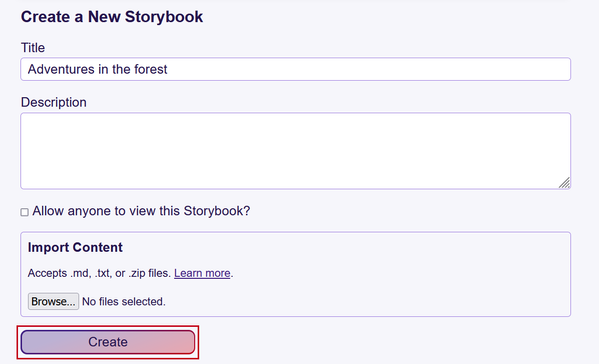
- Create a new Storybook from your Dashboard. Once created, click its title to open it.
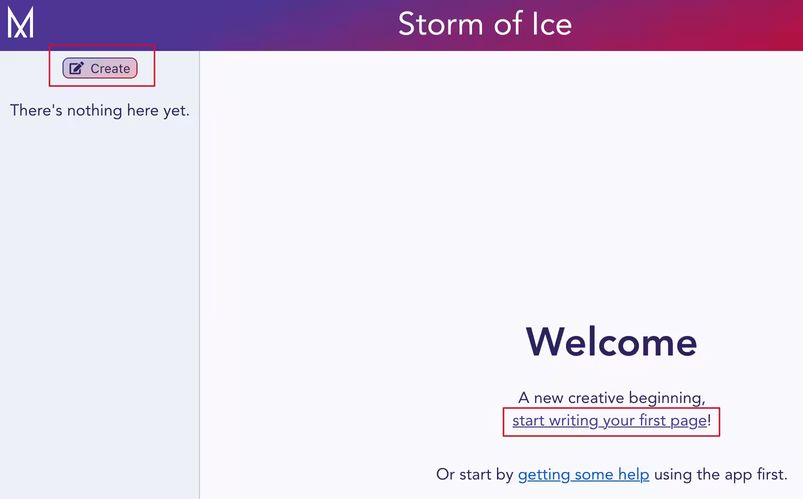
- When you first arrive in an empty Storybook, begin by creating your first page. Do this with the Create button in the left-hand menu or the link on the initial welcome page.
- From here, the writing process is the same whether you are making a new document or editing an existing one.
General Settings
The Storybook editor has three areas: the title bar, the navigation, and the main content area. From the title bar, you can navigate back to your dashboard, configure settings, or sign out of Mythic.

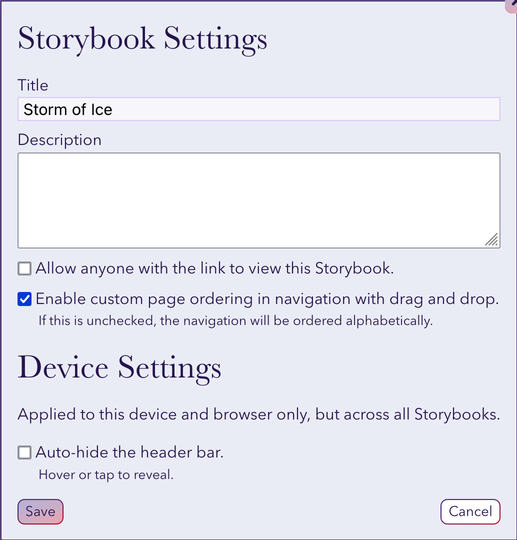
Clicking the settings button will bring up the settings modal. In addition to the same details configured on Storybook creation, you can also specify if you’d like the navigation to be custom (the default) or alphabetical. If custom is selected, you will be able to drag pages to the desired place in the navigation. If it unselected then pages will be sorted alphabetically with pages that have children grouped first.
Additionally, you can set whether or not you’d like the title bar to always be fixed to the top of the page, or to be hidden until the colour bar is tapped or hovered over. This allows you to minimize a rarely used interface to keep your content front and center. Device settings are specific to the computer (or phone, etc) and browser you are using and can therefore be set differently for each one.
Note that currently drag and drop only works on devices with a mouse.
Writing
In writing mode, the content editor (detailed below) starts with cursor focus so you can immediately begin creating.
To create a page, you only need a title; however you can also specify a location. Any page can be nested under another.
Selecting a Page Location
- Click on the “Page Settings” button in the upper right corner of the editor to select an existing page or create a new parent for your page.

- Using the dropdown menu, select an existing page (or Top Level) and optionally create a new parent page with the text field.
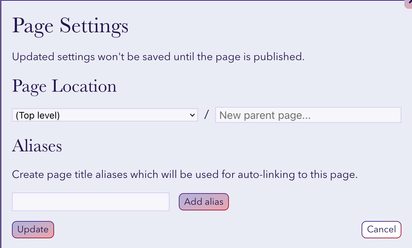
If you create a new parent page, a blank page will be created automatically with your page underneath it.
Blank pages with sub-pages will show an auto-generated page hierarchy table of contents.
Aliases
In the Page Settings modal you can also set aliases for your page. These will be used, along with the page title, to automatically create links between your pages.
For example, with a page titled “Island of Tigers”, you could create aliases “Tiger Island” and “Feline Isle”. All three of the phrases will automatically generate links when that text is found on a page.
Content Editor
At the top of the content editor is a menu for styling the text and inserting various components such as links, tables, and images. Text is styled according to Markdown syntax (more syntax documentation can also be found at Markdown Guide).

Note that when using Markdown to create headings, the editor only supports the hash syntax (
# Sample Heading).
Images
You can drag & drop or copy & paste images directly into your content. Alternatively, you can use the image menu button in the editor to upload an image or link to an external one.
Images must be smaller than 30mb and one of the following file types: .jpg, .png, .bmp, .gif, .webp, .avif.
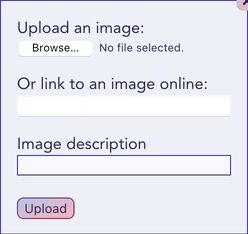
In this modal, select an image from your device or insert a URL.
While not required, it is a good idea to provide a description for the image that will be read by a screen reader, or displayed if the image doesn’t load.
Note: images dropped or pasted in will use their filename for this.
The image is inserted at the location of the text cursor. Once placed, you can drag it to a new location in your document. Hover over an image to display its placement menu.
An image can be floated to the left or right so that text flows around it. Clicking on an active left or right flow button will reset the positioning to the default “block” so that it sits on a line by itself.
Currently, you can size images to 25%, 50%, or 100% of the text container, though never more than their maximum width.
Links

You can link to internal pages and external webpages by selecting text and clicking the link icon in the menu. In the displayed modal, search page by title or insert a URL (e.g., https://example.com/page.html).
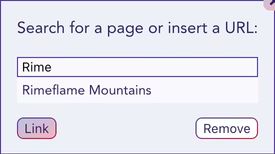
Internal pages will also be automatically linked when in reading mode if the text is an exact match of a page title or an alias. No special characters are required to prompt this.
Tables
Using the table menu button will generate a 3 x 3 table, including a header row. While the cursor is in the table, you can add or remove rows and columns.

If the table is the last element in the document, use the arrow keys to move the cursor past the table to begin typing outside of it again.
Reading
The reading view of the Storybook is identical to the editing view, but without the writing tools. You can find pages using the sidebar list and search field.
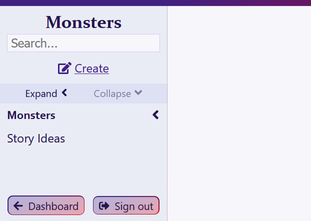
If your page has headings, these will be used to build a table of contents. This makes navigating large documents much easier. The toggle button to show the table of contents is on the left by the navigation pane for large screens and on small screens it is next to the edit button.
Note that clicking on a section in the table of contents cause a short animation to highlight that heading on your page. If you prefer that not to happen, setting your operating system or browser to “prefer reduced motion” will remove the animation effect and simply underline the heading.
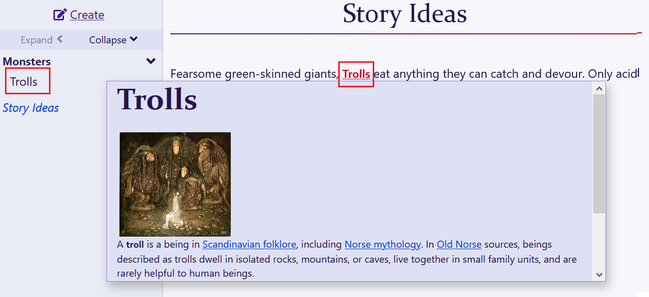
While in reading mode, Mythic automatically adds links to page titles that match the existing pages or storybooks. If you have a link to another storybook page, you can preview it by hovering over the link. This scrollable preview contains the entire page content and you can go to this page by clicking through the link.
Any highlighted text that solely contains dice roll notation (e.g., 2d6) can be clicked to roll it and get a random number. Modifiers can be used to add or subtract from the roll: 3d8 + 4 or d4-1. The spaces around the operator and the number before the letter “d” are optional as shown in the last example.
